
What I’d Want to Know If I Were DIYing my Wedding Flowers
If you’re planning to DIY your wedding flowers, you probably already know that working with fresh blooms can be both magical and a little intimidating. From choosing where to buy flowers to making sure your arrangements survive transport, there’s a lot to think about! That’s why I’ve put together my top wedding flower arranging tips; hard-earned tricks and techniques that will help your DIY floral designs look polished, professional, and perfectly “you.” Whether you’re a first-time DIYer or a seasoned flower enthusiast, these tips will guide you step by step through creating beautiful, stress-free arrangements.
So let’s get into it, here are my top hard-earned floral design tips:
1. Make a recipe. Use a template from my Floral Organizer or create your own. Recipes help you order just the right amount - no overbuying, no surprises.
2. Pinterest is inspiration, not a blueprint. Focus on color, texture, and shape instead of exact flower types. Substitutions are not only fine, they’re often necessary for seasonality and budget.
3. Get a few extras. Round up your stems to the nearest bunch. Flowers can break or wilt in transit, so a few extras will save your arrangement.
4. Flowers opening too quickly? Move them to a cooler space to slow them down.
5. Flowers not opening fast enough? Recut stems, put them in warm water, and move them somewhere slightly warmer—just out of direct sun.
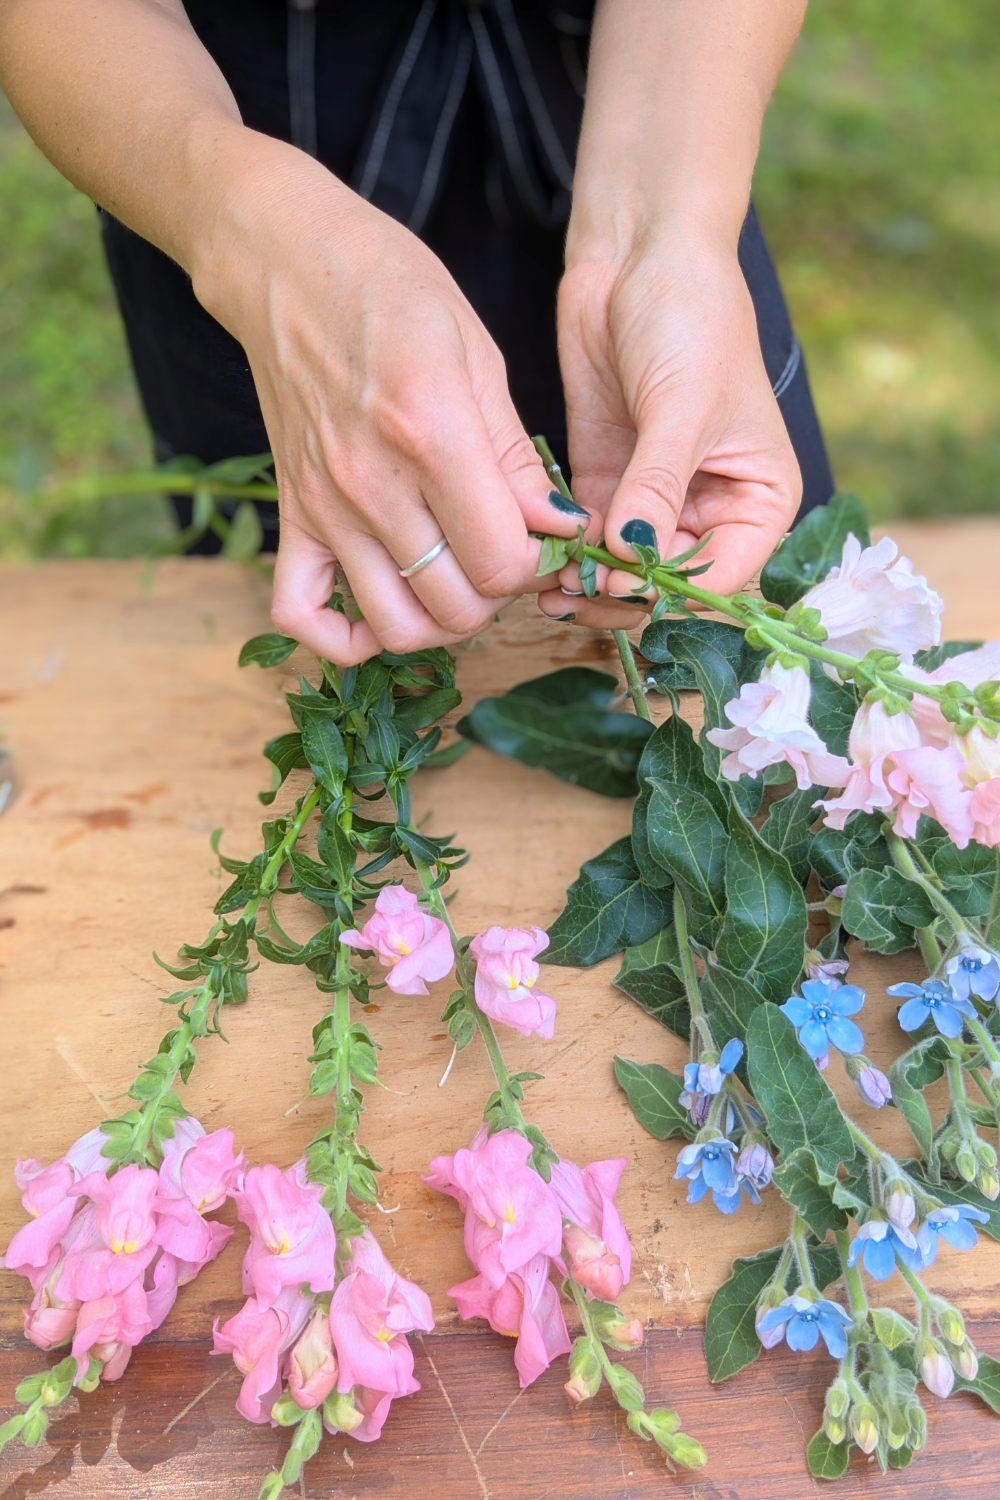
Removing foliage that falls below the waterline will keep the water clean and extend the life of your flowers. This is important while conditioning and your floral arrangements.
6. Condition your flowers properly. Remove any greenery below the waterline, cut stems at an angle, and hydrate in clean water for 1–2 hours before arranging. This step is essential for achieving beautiful flowers that will last.
7. Protect from freezing. Flower petals can freeze quickly below 32°F.
8. Handle with care. Always hold flowers by the stem, not the bloom, to avoid bruising.
9. Tape your vase edges. If using floral tape mechanics, always secure the edges (learn more about vase mechanics in the Centerpiece Guide)
10. Hide your mechanics. Foam, chicken wire, or tape should be completely covered with greenery or blooms.
11. Build in Layers. Each layer should look good before you move on to the next - a strong foundation makes it easy to add and refine as you go.
12. It’s okay to start over. Don’t get caught up chasing perfection. You’re working with natural elements, and that’s the beauty of it - it’s not meant to be perfectly symmetrical or flawless.
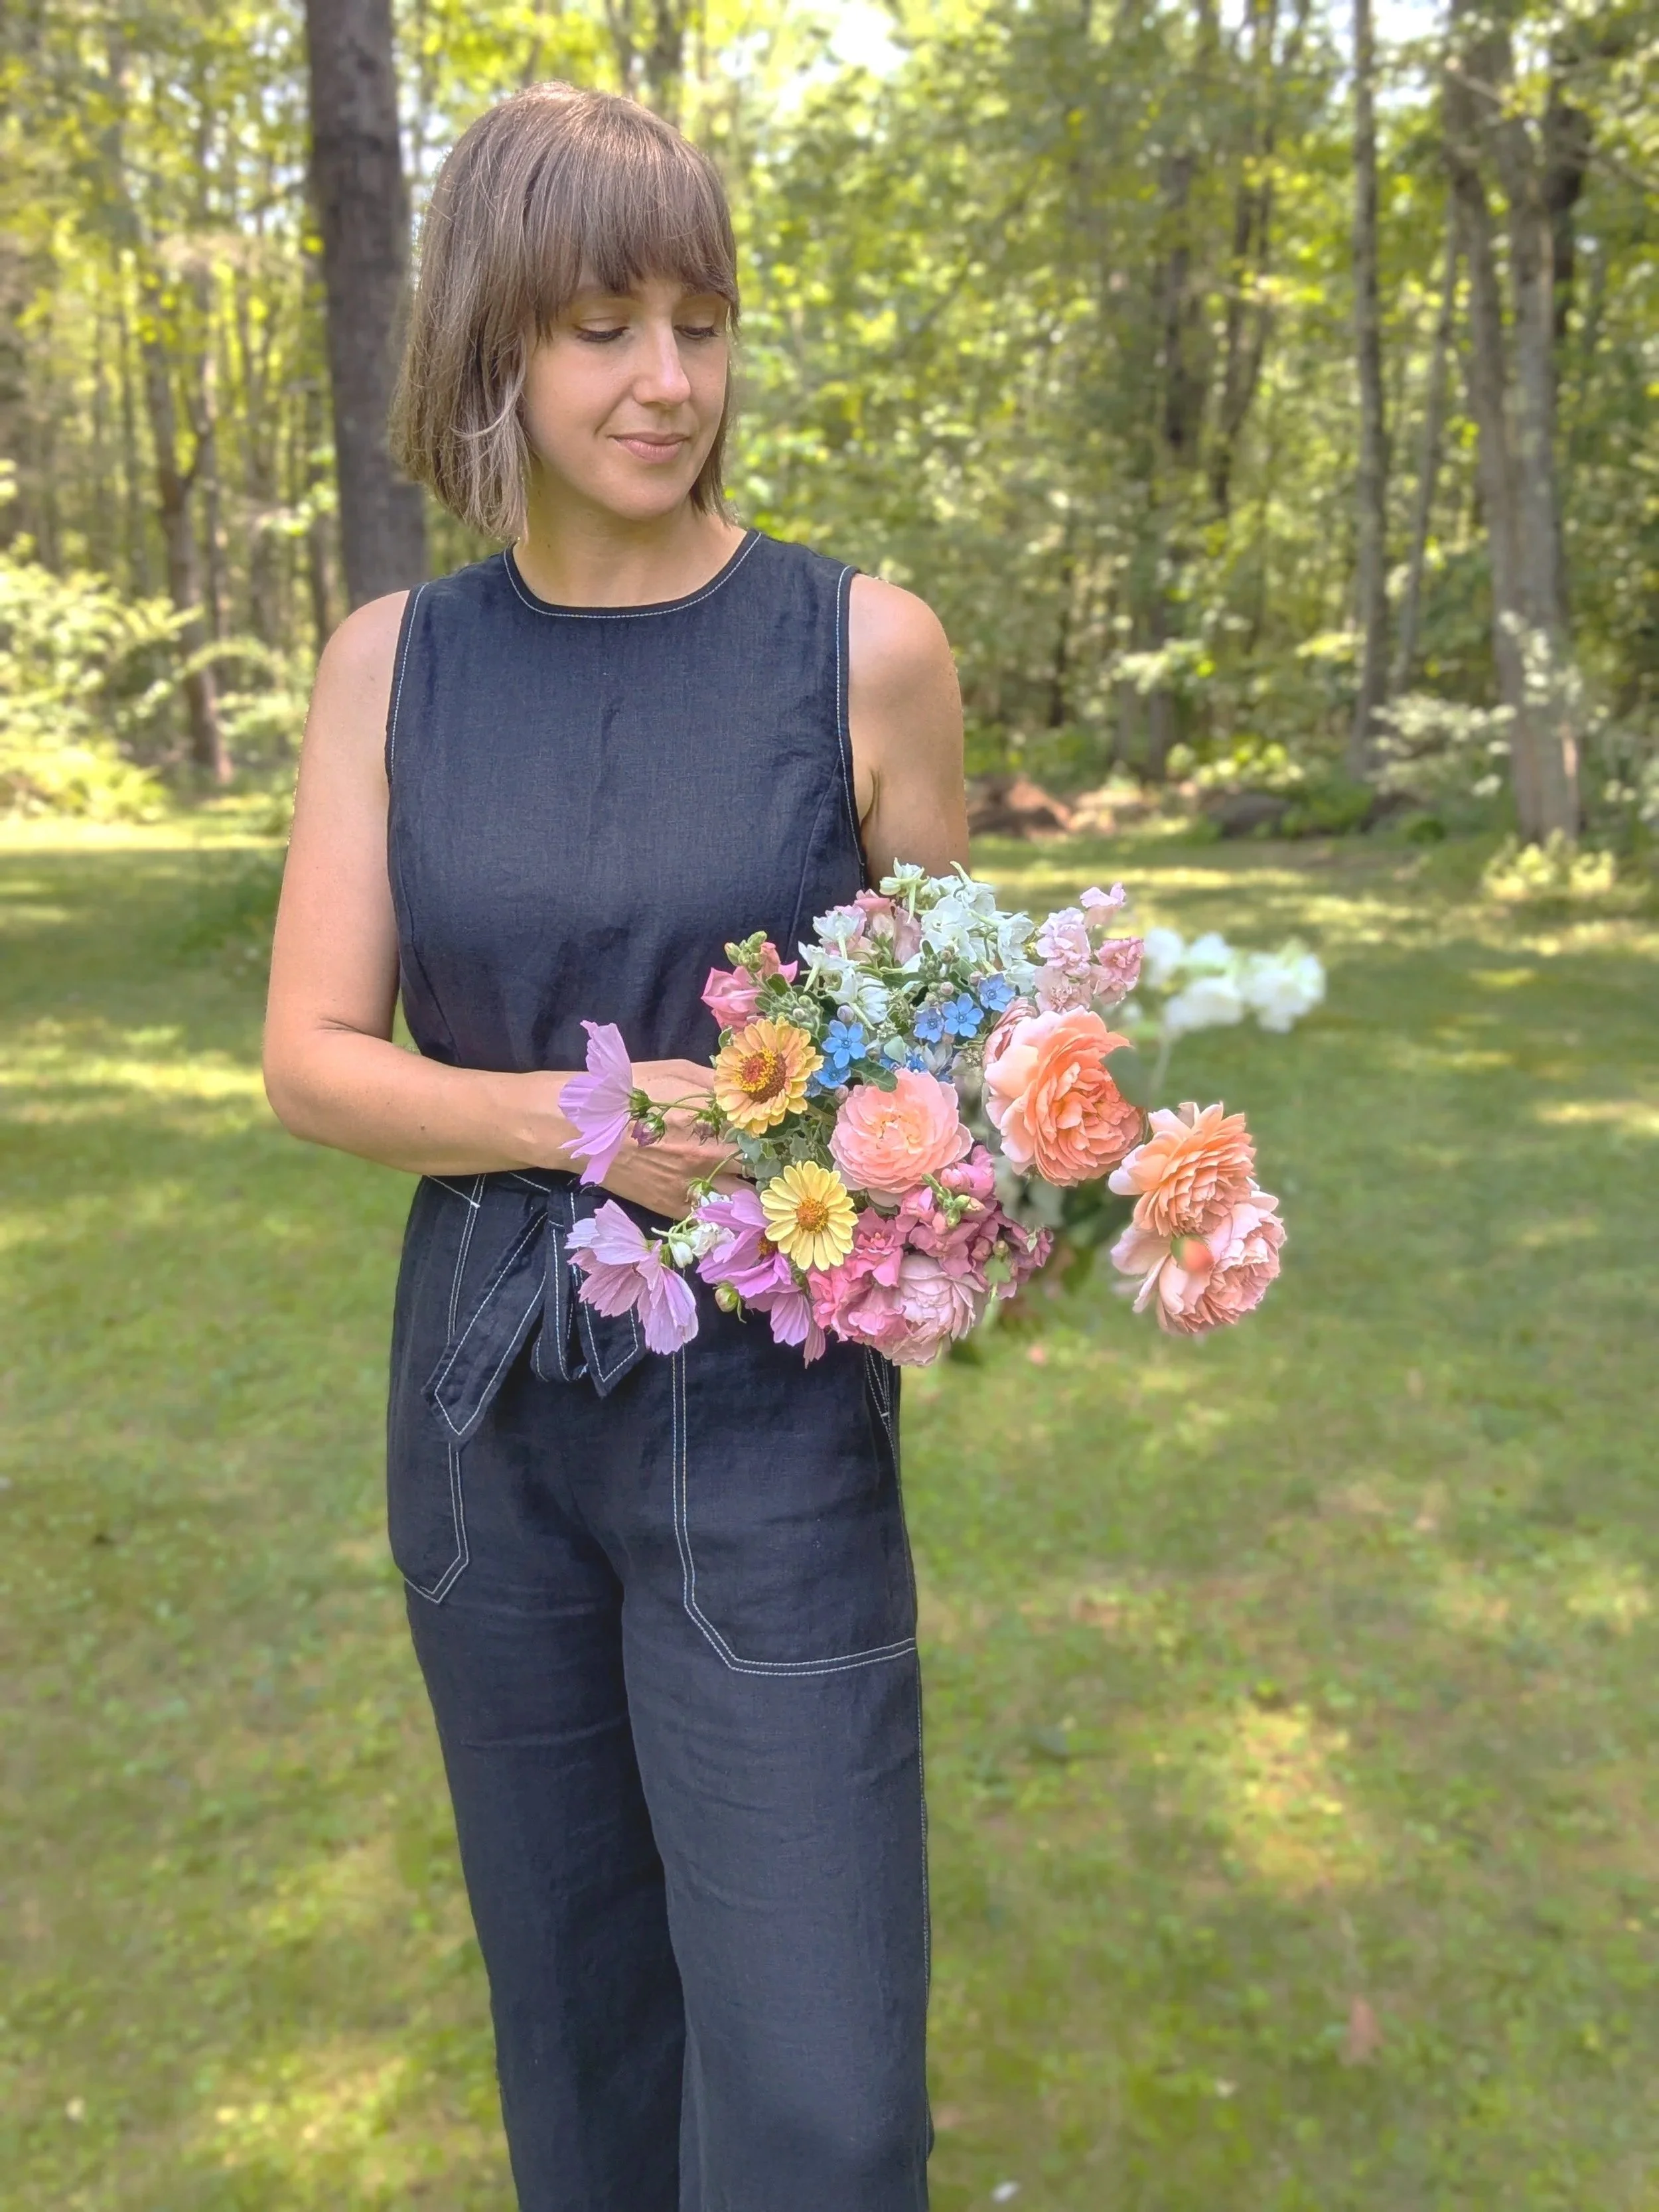
Practice makes perfect! Get yourself some flowers at the market and play, the more you practice your technique, the more confident and comfortable you’ll feel when it’s time to design your wedding flowers!
13. Enough is better than too much.
14. Stem length matters. Cut stems long enough to reach the bottom of your vessel. Short stems can die if the water level drops.
15. Plan for transport. Bring extra flowers to replace any that don’t survive the journey.
16. PRACTICE and have fun. Go buy yourself some flowers and practice your technique! It’s fun, you deserve fresh flowers, and you’ll feel confident and ready when it’s wedding time!
Remember, creating gorgeous DIY wedding flowers isn’t about perfection - it’s about preparation, creativity, and enjoying the process. Use these flower design tips to plan, organize, and execute arrangements that will wow your guests and feel effortless. For extra help, check out our Floral Organizer and other DIY wedding flower guides to stay organized, track your recipes, and make your floral vision a reality. With a little planning and a lot of heart, your wedding flowers can be beautiful, personalized, and unforgettable!